These photos are to share the beauty of our land south of Cheney, Washington. We are in process of creating a home on the land. Please feel free to ask questions or share your thoughts. These photos are rather large so if you are on a slow feed please be patient.
Here are the recent photos.
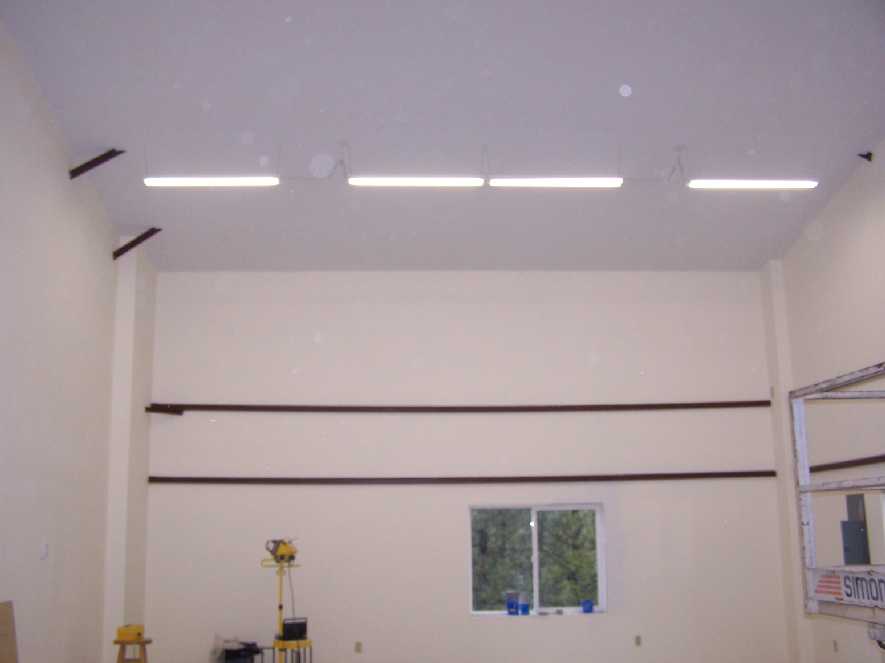
After painting the finish electrical work can be done. Here you can see the florescent lights above the living room. It feels good to be able to turn a switch and have the lights go on. I seem to have gotten some paint spots on my lens. Maybe I should have been more careful taking pictures of the paint spraying.
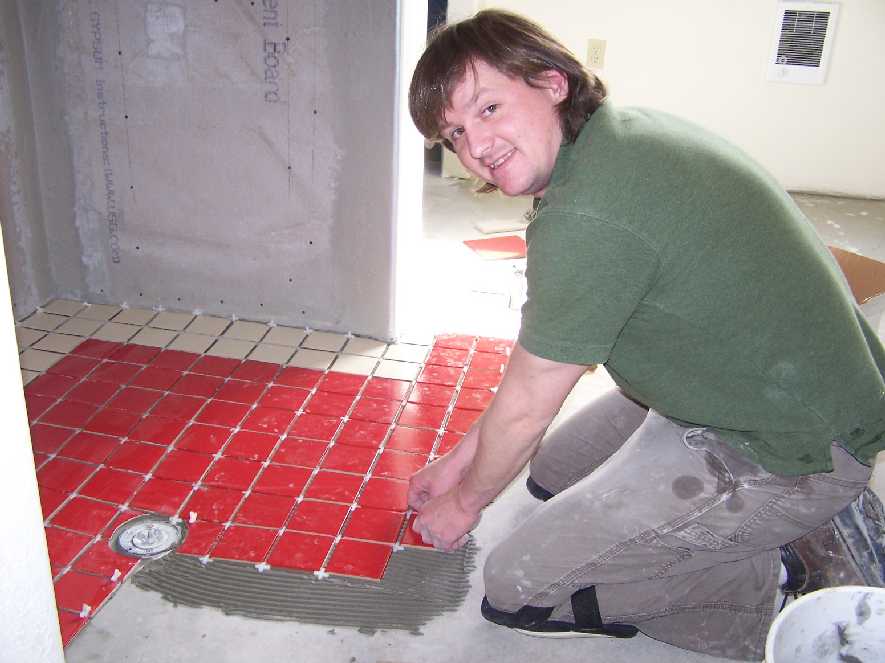
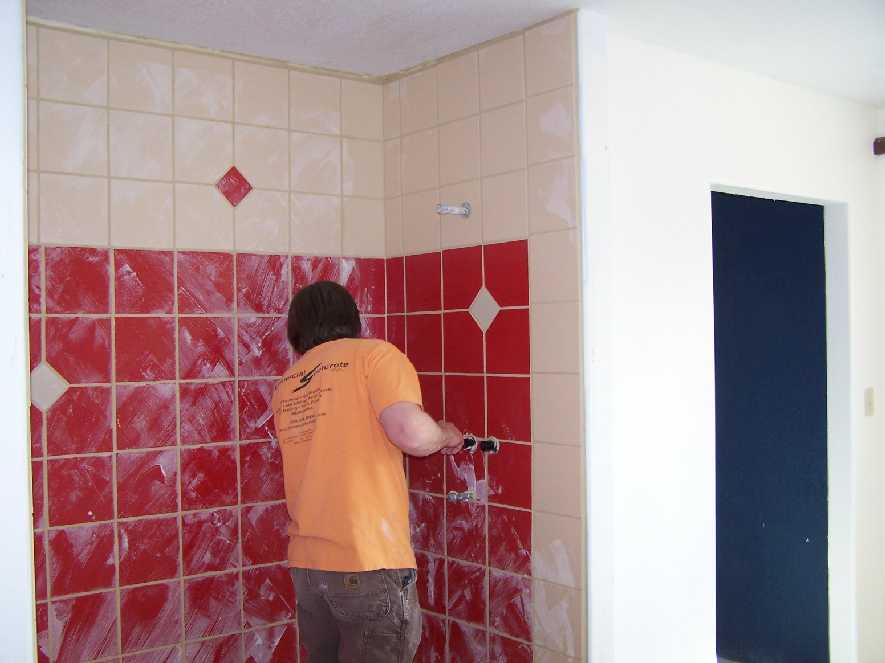
Once the lights were on we started on the bathroom floor. Here Justin lays tile in the shower area. Our guest bathroom is ADA disability compliant. The shower is really just an area of the room with no lip or ledge from the rest of the floor. There is no tub in the guest bath.
The whole floor slopes slightly to the shower drain so any water splash runs to the drain. By the end of the day on Monday, Justin had laid all of the middle of the bathroom floor tile. It has to set for at least 24 hours before being walked on safely. We'll give it a day of rest and on Wednesday we start cutting and fitting tiles around the edges. We also will tile the shower area walls.

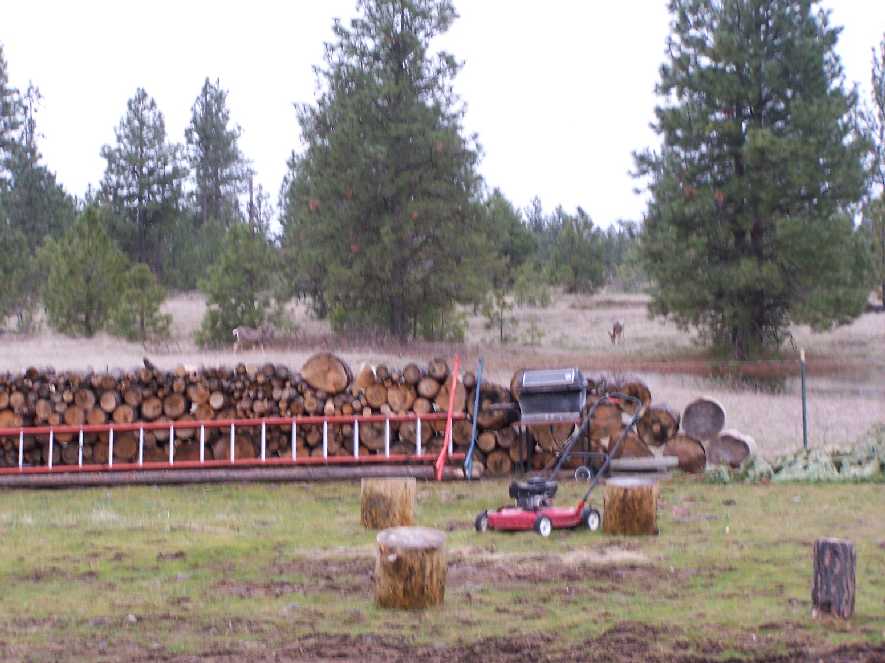
Now that we're living on our land we get to watch the early morning scenery. This is early Tuesday morning looking south from the sliding glass door in what will be the future dining room. We have a woodpile for a future wood stove, and some left over construction debris. How many deer can you see in this picture?
Looking a little closer with the camera lens shows a herd of visitors. I hope they don't find our bulbs.
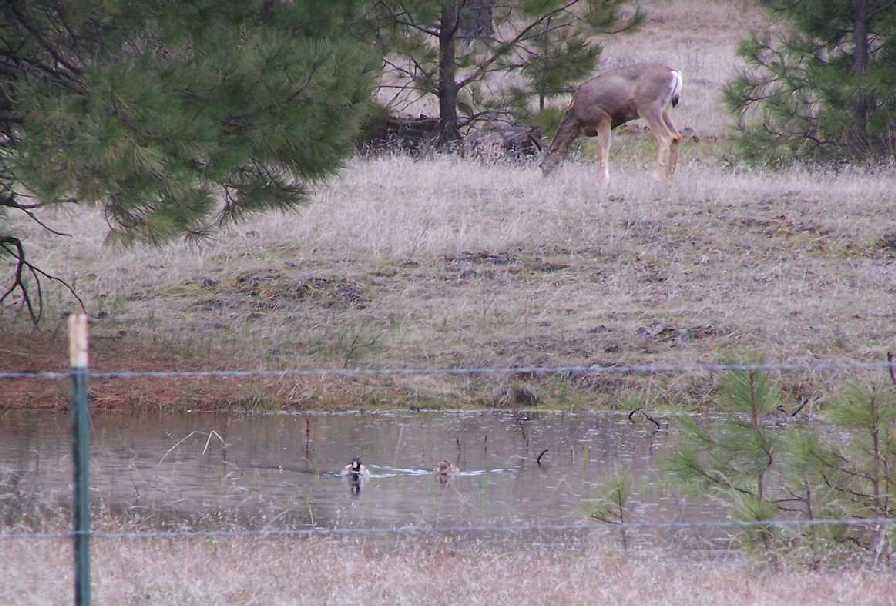
A pair of ducks has apparently moved into the pond just on our southern boundary. Maybe they will take up residence.
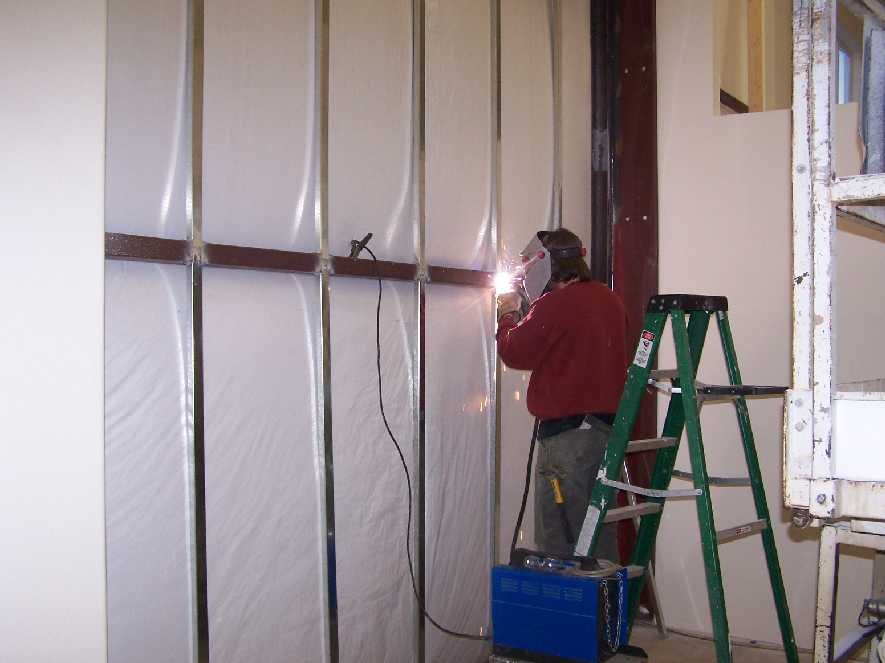
While waiting for the bedding thinset to cure we did some work on the inside of our 12-foot rolling door. Here Justin welds some furring strips to the steel frame. For some months we've been trying to figure out how to finish the inside of this big movable wall section, door, and we've finally figured out a plan.
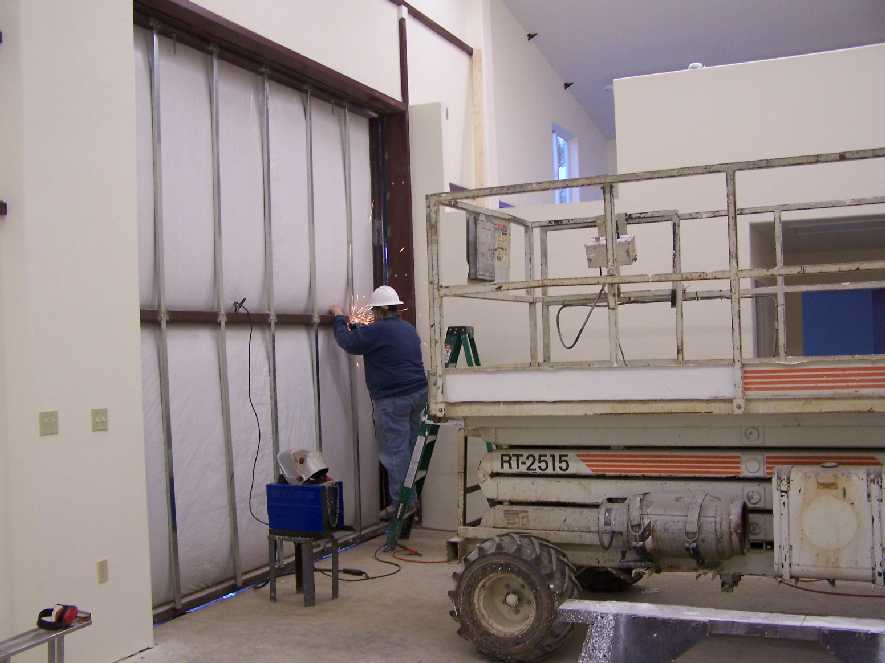
After the welding is done the welds have to be ground flat. Here Brad is grinding the welds to a smooth surface.
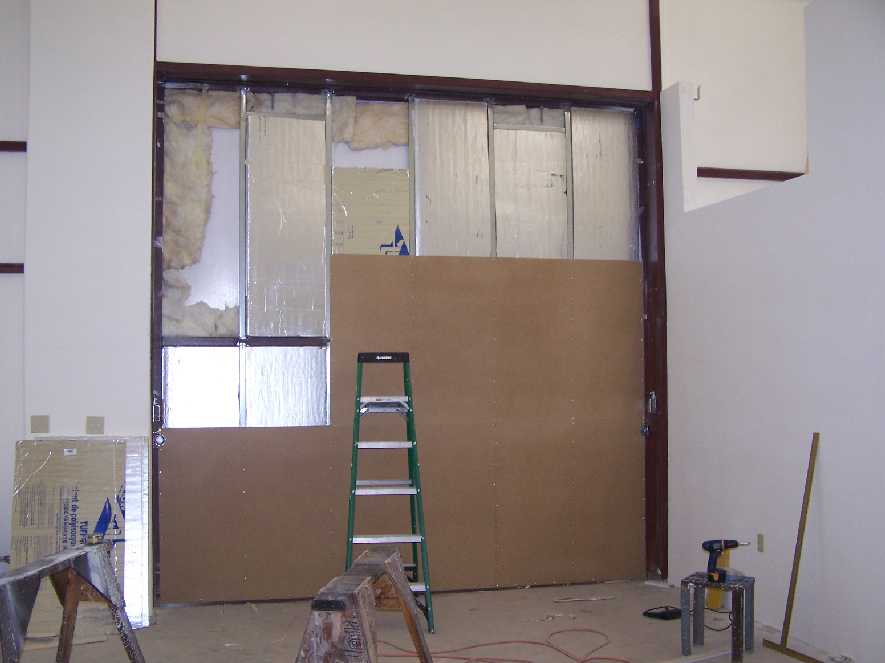
After the steel furring strips were up we added some additional foam insulation and 1/8 inch masonite panels. The masonite was chosen because there isn't much clearance between the door and the outside of the building.
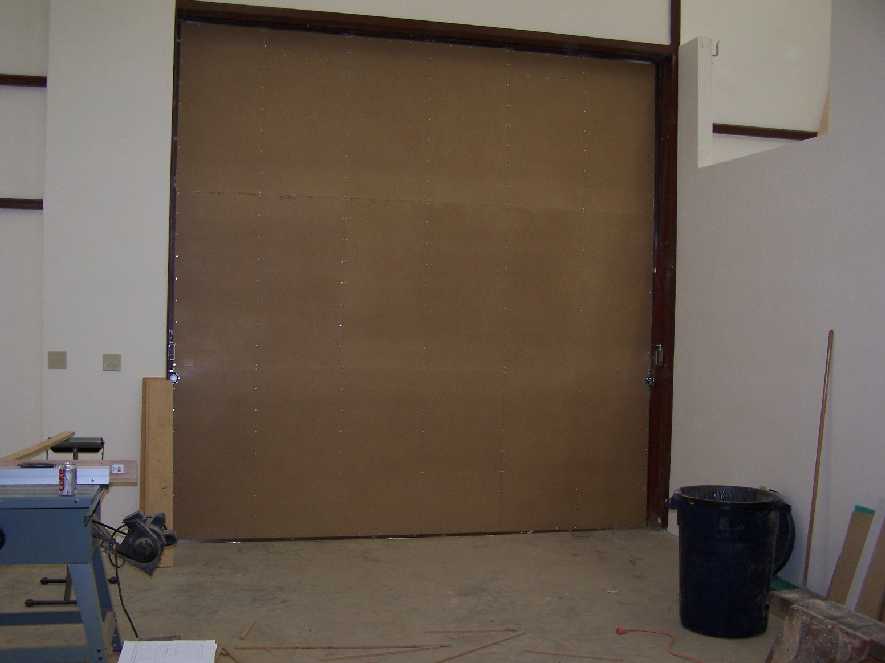
Here the door is all insulated and paneled. We still need to pour a concrete threshold so it can be weather-stripped underneath, and add weather-stripping to the top and sides. The original door we received from the building manufacturer was 3 inches shorter than the opening, which would have left a 3-inch gap for wind to blow in. Some months ago now we welded on an extra 5 inches to overlap top and bottom.
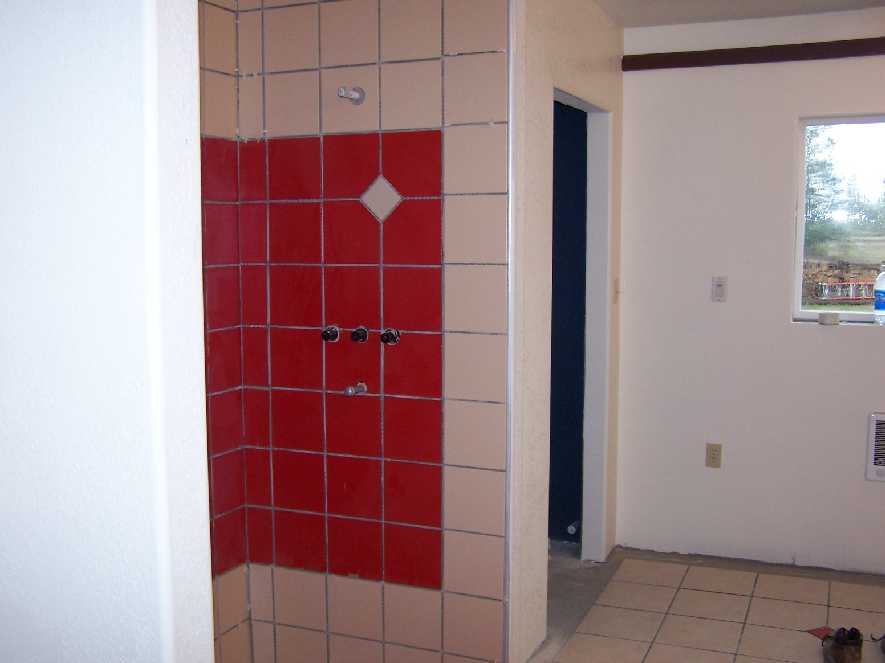
By Thursday afternoon we have the tile finished in the shower. It has a big splash of red and looks pretty good. Grout goes in-between the tiles next. By next week the bathroom will be mostly finished.
The tile work seemed to go on for weeks. Actually it took a week and a half almost.

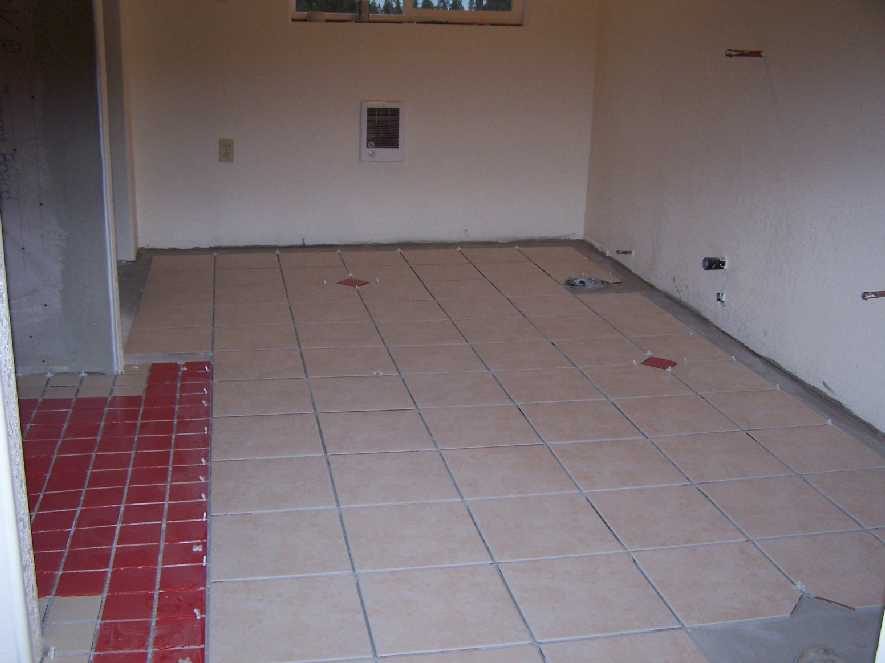
Here is the finished floor ready for the plumbing fixtures to be installed.
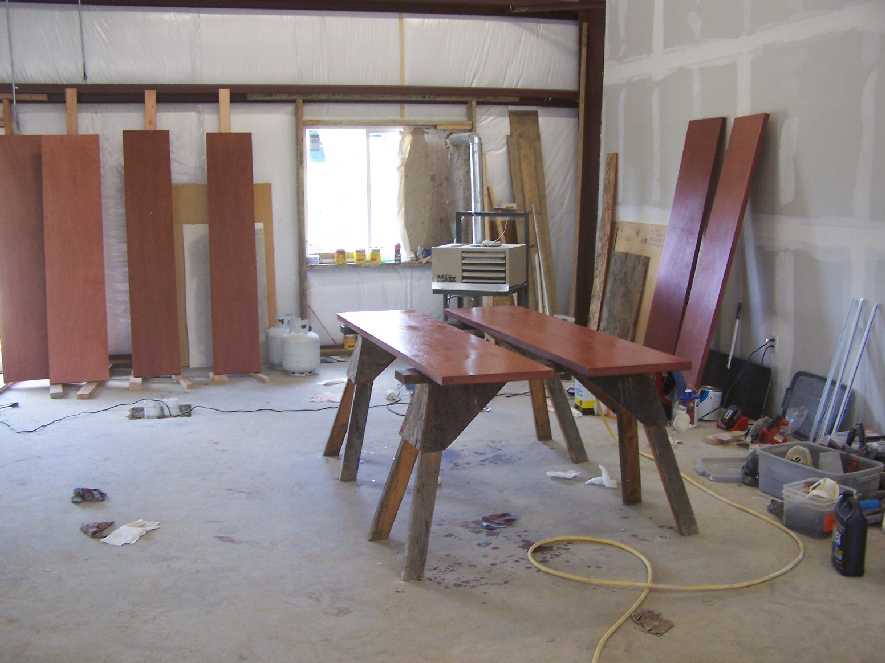
While everything else is going on I have set up a door finishing shop where the doors are getting stained and lacquered.
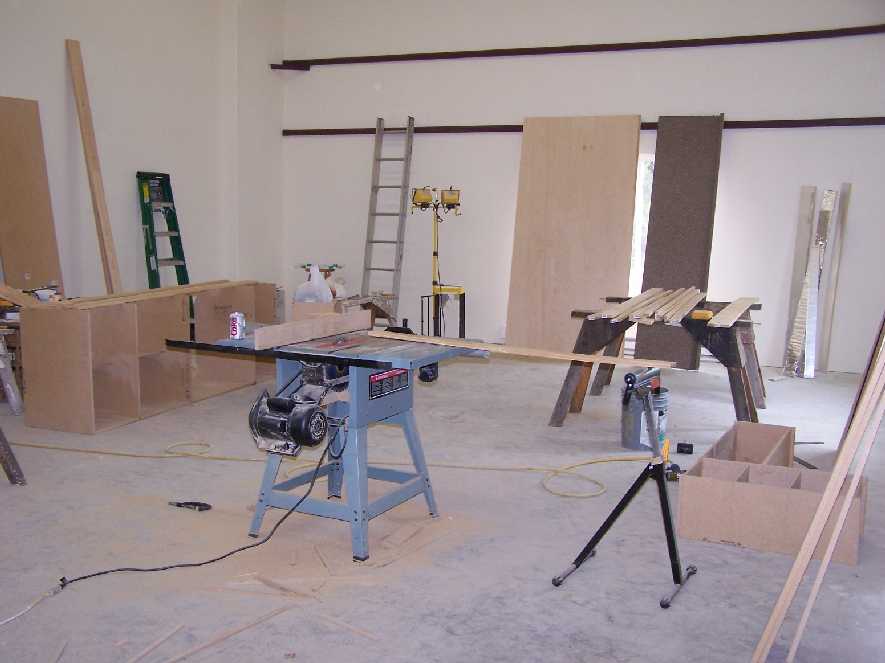
Now that the bathroom is almost done it's time to turn our attention to the kitchen. We set up our table saw in the "living room," bought a load of wood, and turned the space into a cabinet shop. Kitchens R us.
