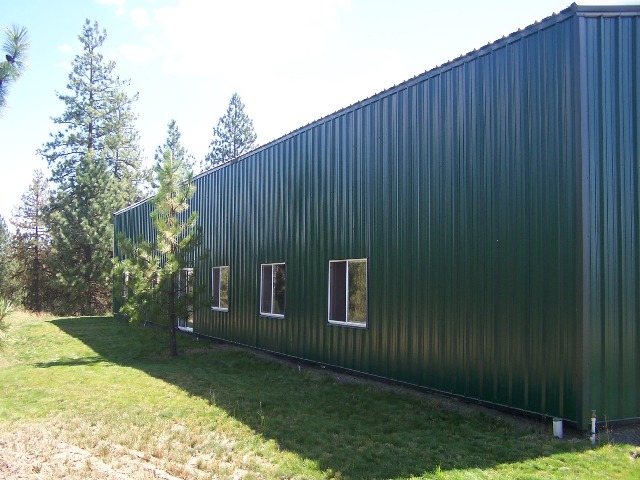
These photos are to share the beauty of our land south of Cheney, Washington. We are in process of creating a home on the land. Please feel free to ask questions or share your thoughts.
These photos are rather large so if you are on a slow feed please be patient.
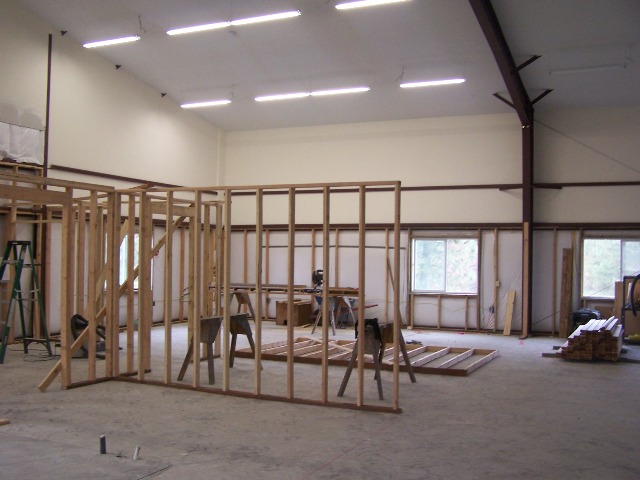
Its summer and dry. We've been worried about wildfire but the green lawn around the house should keep fire at bay if we ever get into a wildfire area. We've been working on bay 4 since Justin left.
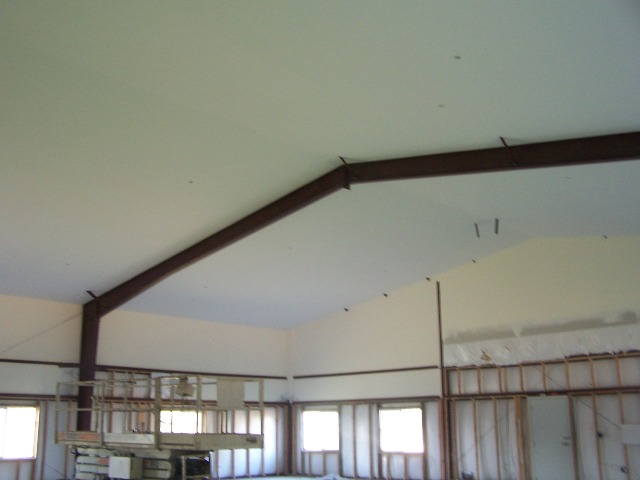
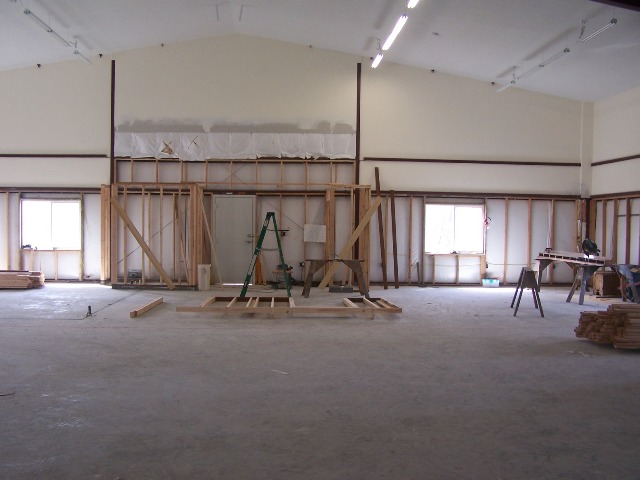
After several weeks I finished the high work on the ceiling and upper walls in bays 3 and 4. It's all drywalled, textured and painted. It took a week to mask off beams and girts, but then it's fast to paing.
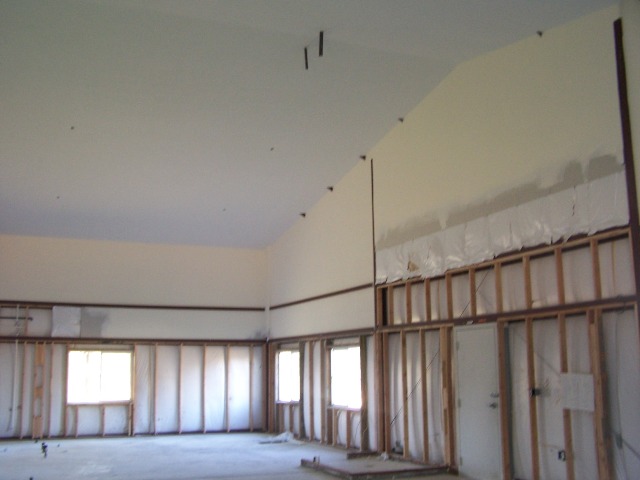
Here's another look at the finished ceiling.
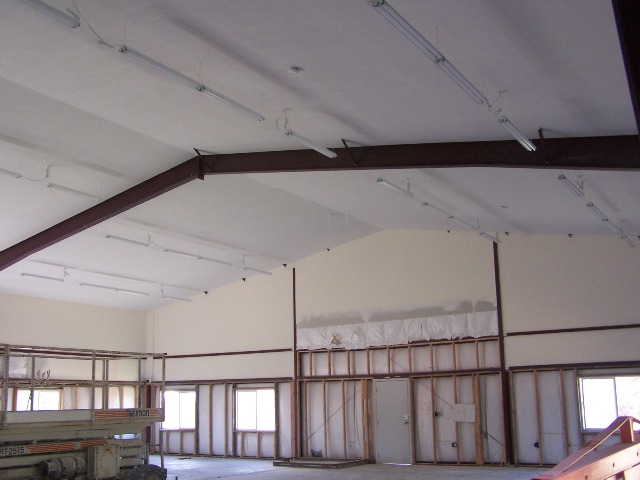
After the paint then the lighting goes up. It has to be all done before we fence out the scissor lift with the walls.
We have been watering grass seed for a year now, it's finally filling in. I still go around with a wheelborrow collecting rocks every time I mow, and there is no shortage of rocks still. Every summer there are wildfires within 20 miles of here, sometimes closer. Our fire safe plan includes a non-flamable green grass area around the building.
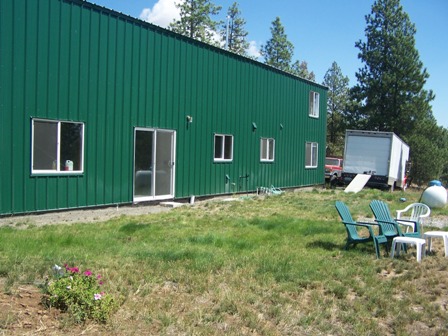
Here is the south lawn. The grass is a little less complete here, and there are more rocks still. We planted some flowers that Logan was given, and a couple of small lillac bushes.
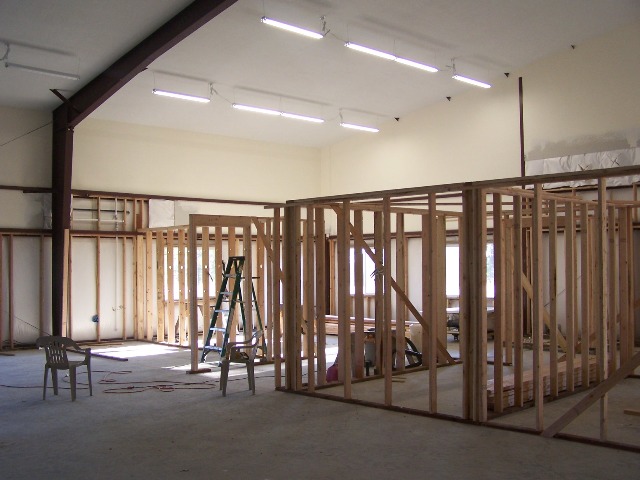
By August I was able to start framing the lower rooms, beginning with the coat closet near the back door and the wall around our walk-in shower.
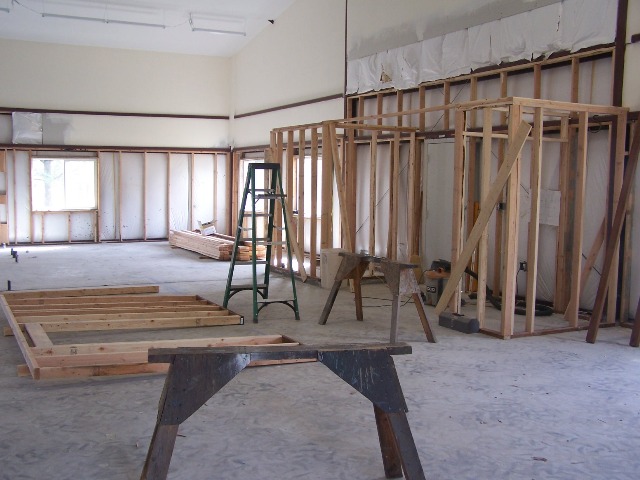
After the shower and coat closet are framed I moved across the hall and started the first wall of our two large walk-in clothes closets. Logan will have enough space for a woman to put all her clothers, and I'll have more than I need.
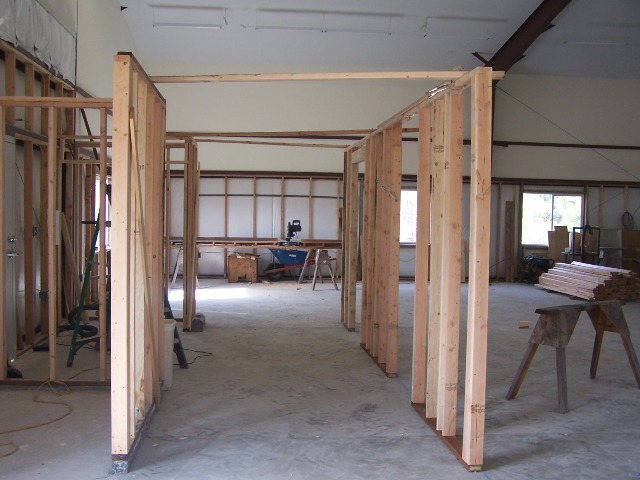
Here is a look down the hall. It's wide enough for two people to pass comfortably without one person having to step out of the way while the other goes by -- like in other houses we've owned. You can see two doors for the futue closets on the right of the hall.
I keep making walls and putting them up. Here I've put up the wall between the two big closets and am laying out another wall.
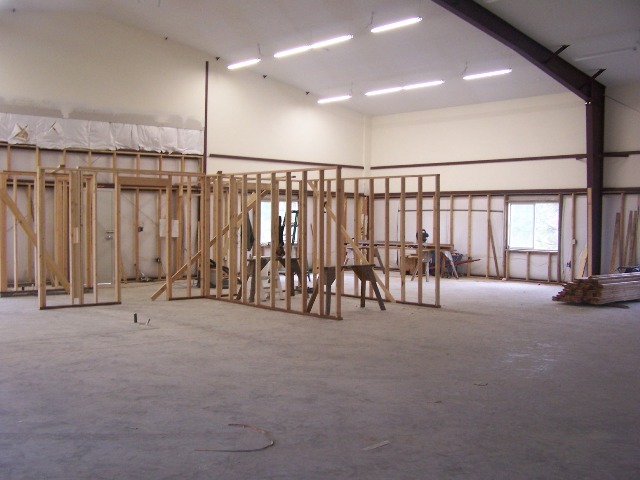
The next closet wall has gone up.
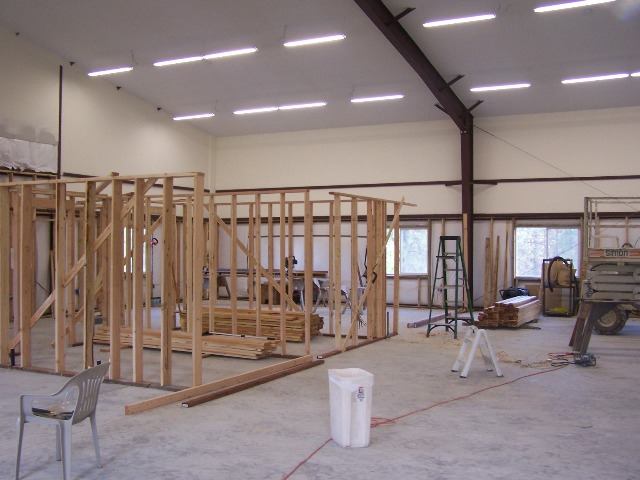
Continuing with framing the bay 4 walls. Here is beginnnig the divider wall between the master suite area in bay 4 and the study/library area in bay 3.
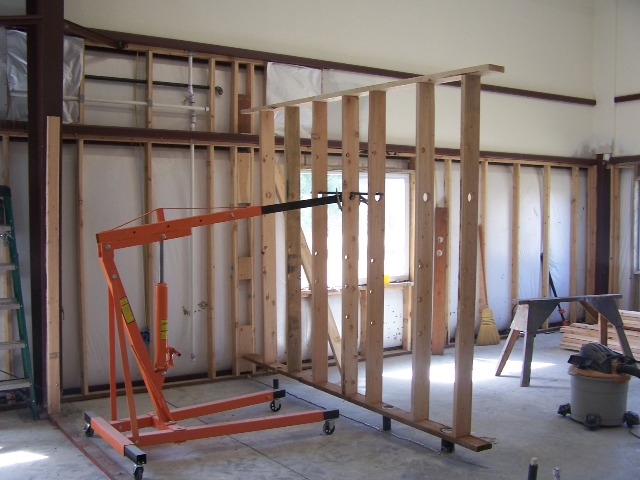
The wet walls were framed with 2x6 and had to be lifted over the stub up pipes coming out of the floor. Working by myself they were too heavy and awkward to lift, so I used my shop hoist to lift and place the wet walls.

I finished the plumbing (wet) wal between the laundry and the bathroom, and the end wal for the laundry area.
Here is another look at the progress of wall framing.
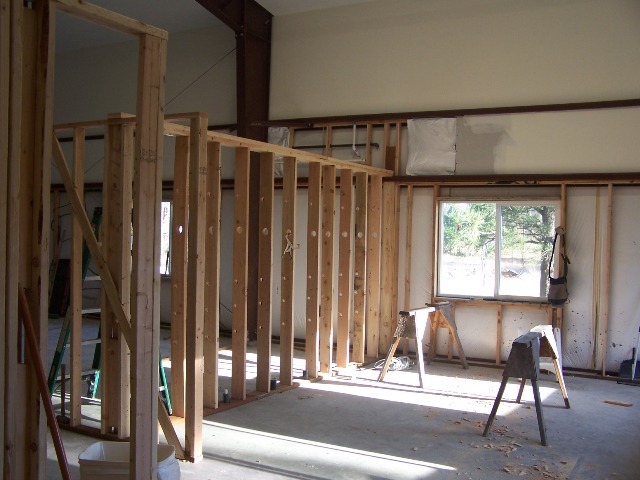
Here is a view of the master bath area under construction.
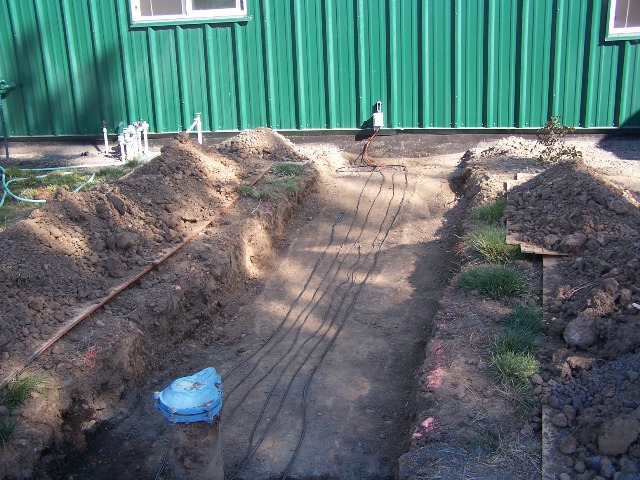
Last winter our buried water pipe from the well to our house froze, shutting off the water and endangering the pipe. A prolonged freeze can break pipes. Last winter we solved the problem by laying gutter heat wire on top of the ground and covering it with two layers of fiberglass insulation. That warmed the one strip of ground enough to thaw the pipe, but it wasn't a permanent solution.
Our dirt is only about 2 feet deep between the house and the well where our water pipe runs. Below that its solid rock. The water pipe is laid on the rock. An electric conduit runs above the water pipe. The electric inspector insisted on concrete over the electric conduit because it's not buried deep enough for electric safety. Before winter this year we dug a trench from the house to the well, 4 feet wide and as deep as the concrete over the electrical conduit. The "gutter" heating wire was laid in the bottom of the trench over the water pipe, electric conduit and concrete. In this photo you can see the trench and heating wire. We bedded the heating wire in sand.
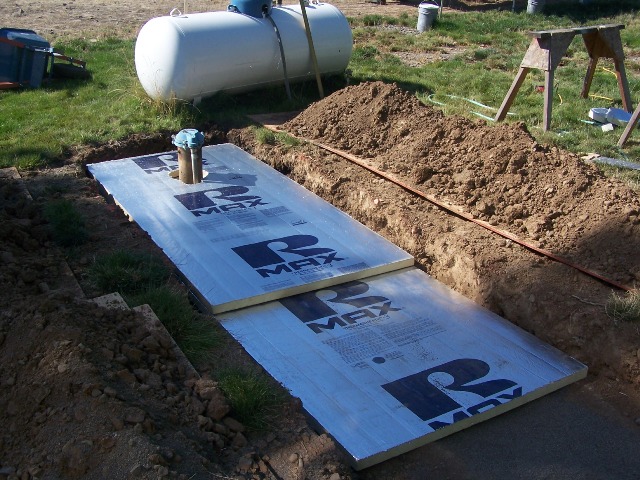
In this photo you can see two layers of 2 inch urethane foam insulation being installed above the heating wire.
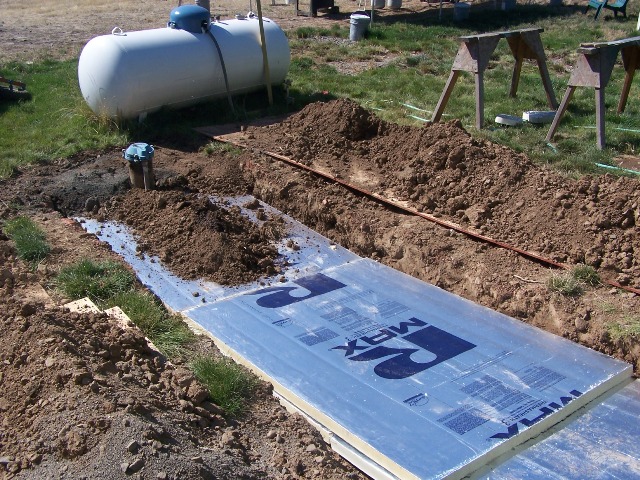
This photo shows the insulation installed and backfilling begun. During the excavation and backfill we separated and hauled away about 10 wheelbarrow loads of rocks up to 8 inches which had been in the dirt. Only our clay dirt and pebbles go back into the fill.
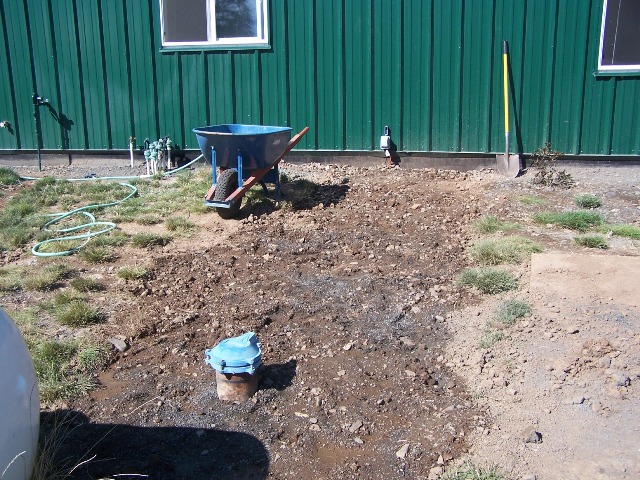
In this photo it's all backfilled. Two layers of urethane comes to R-22. I wired the heat wire to a switch in our well utility closet. It was an important job that needed to be done before the fall rains begin. I sprinkled some grass seed on the top of the excavated area. By next summer it will not be noticeable.
