These photos are to share the beauty of our land south of Cheney, Washington. We are in process of creating a home on the land. Please feel free to ask questions or share your thoughts.
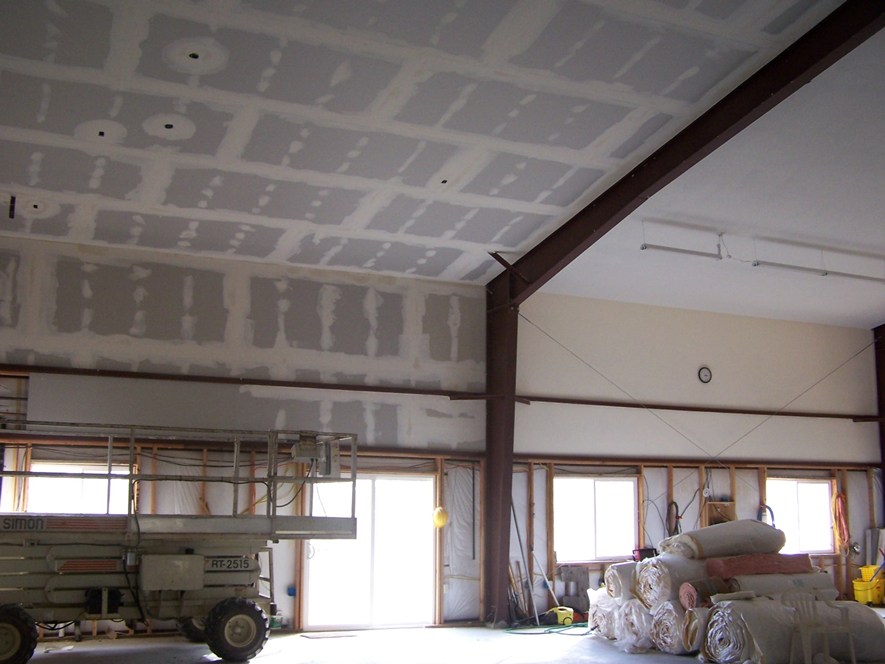
Since we moved into our new master suite in Bay 4, we need to heat the whole home this coming winter. A glaring problem has been the lack of ceiling insulation in Bay 2. The original building comes with R-10 insulation but that loses heat like a sieve. To solve this problem Justin returned for a couple of weeks in early October, 2008, and helped put up the ceiling insulation and sheetrock. In the previous page 38 you can see preparations for the Bay 2 ceiling. Preparations included moving all of our stuff out of the way including all the construction materials and tools. Preparations included installing the furring strips which are bolted to the purloins, and installing the rough in electrical wiring.
Bay 4 by itself is 1,500 square feet on the ceiling plus the upper walls. It comes to about 58 sheets of wallboard.
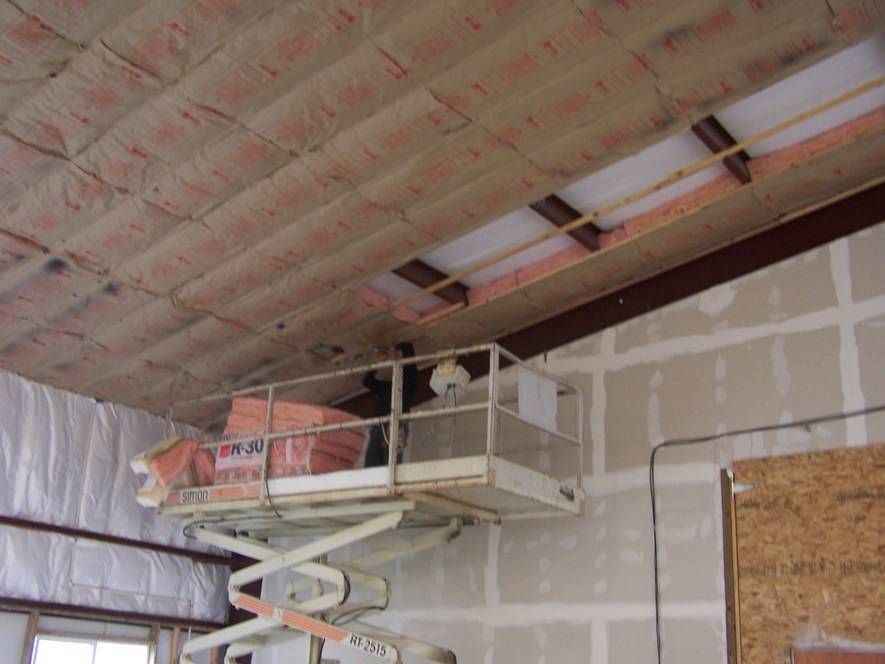
We use R-30 insulation which is the thickest which will fit into our purloin space including the furring strips. It adds up to about R-40, more or less. We don't know exactly because the "R" values are calculated as an average including heat losses due to framing members. Our ceiling has no members that go all the way through from the heated surface to the cold surface, so that breaks a lot of heat transfer. On average it's probably something over R-40. It took Justin and Brad 2 full days to put up the insulation, and costs over $1,000 to insulate this bay ceiling. For the end walls we are still using up the excess building insulation that was originally delivered with our building as an apparent mistake.
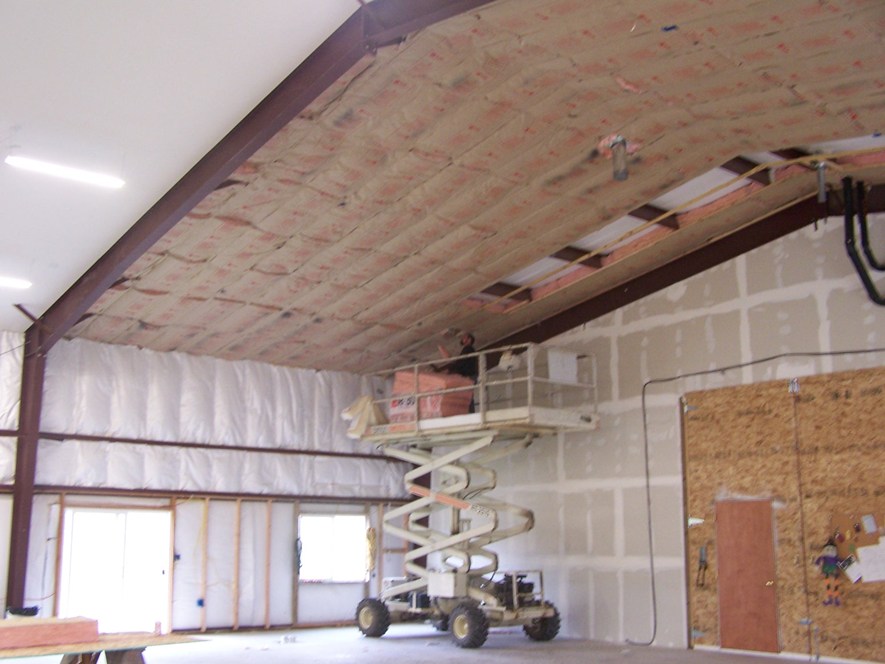
This is another view of Justin installing the last of the ceiling insulation. The lift is invaluable for working on a ceiling that goes up to 20 feet. Without the lift it would be a massive scaffolding problem. You can also see the upper end wall insulation in this photo.
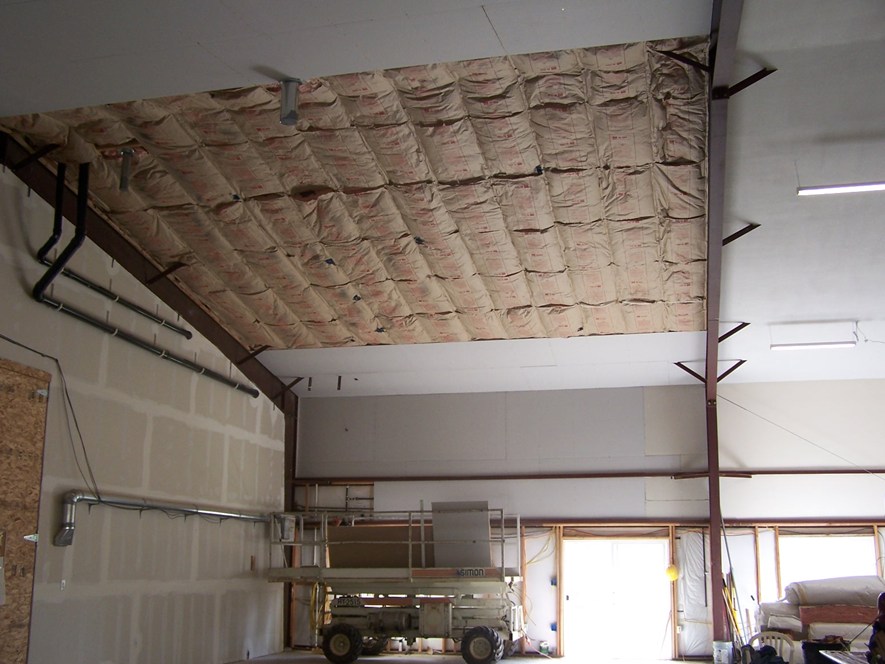
The sheetrock is being installed. It took us the 2 of us about 3 days to hang the sheetrock and screw it out. I use 1-5/8" screws on ceilings and upper walls. I've gone to shorter screws on walls. They say that you can use fewer and shorter screws than the old nails, but it seems to me that its better to use the same count and same length even if screws hold better. Over the years I've fixed too many nail pops to believe that the recommended nailing was satisfactory, so better is better.
After a week of insulation and hanging rock we are ready to get out the mud and start taping. On the north wall the sheetrock runs continuously behind the big steel posts. When we did bay 3 last year, we had to stop before passing into bay 2. Now we pick up the last 2 feet of bay 3 and continue into bay 2. At the right, we stop short of the steel post. Next year when we take down the temporary wall between bay 1 and bay 2 we will continue this sheetrock to patch into the north wall of bay 1.
This shows the tape on the sheetrock.
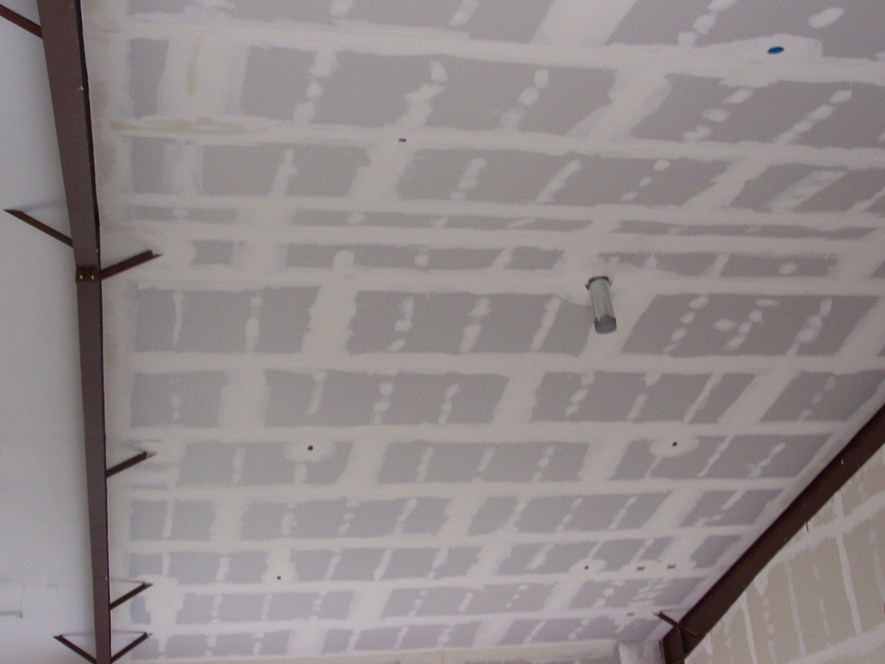
Tape, mud, finish. The first application puts tape on the joints and fills the screw holes. The second application of mud fills in the hollows on both sides of the tape to smooth out the high ridge caused by the tape. At the ridge we use a custom made curved trowel to curve the ceiling from one slope to the other.
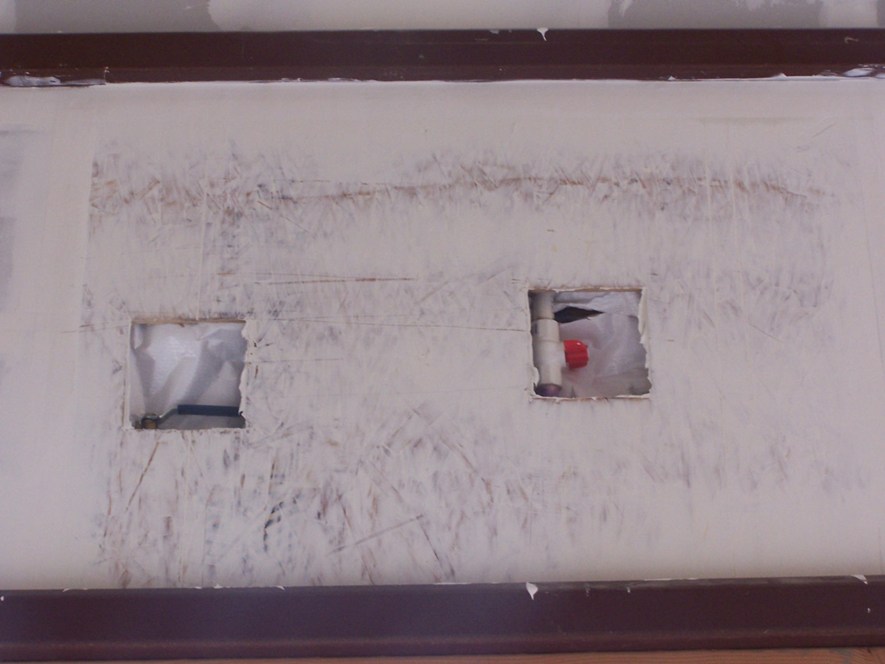
On the south wall we have two section valves in our water lines. I used a piece of OSB instead of wallboard for this spot so that a nice square hole could be left for access. When we must put water pipes on outside walls, we insulate heavily behind them and not in front of them. That leaves 1 layer of drywall between the heated space and the pipe, but there is 6 inches of fiberglass between the pipe and the outside wall. It won't freeze unless the heat fails inside. Later I'll make a nice little door to go over the square holes in the wall.
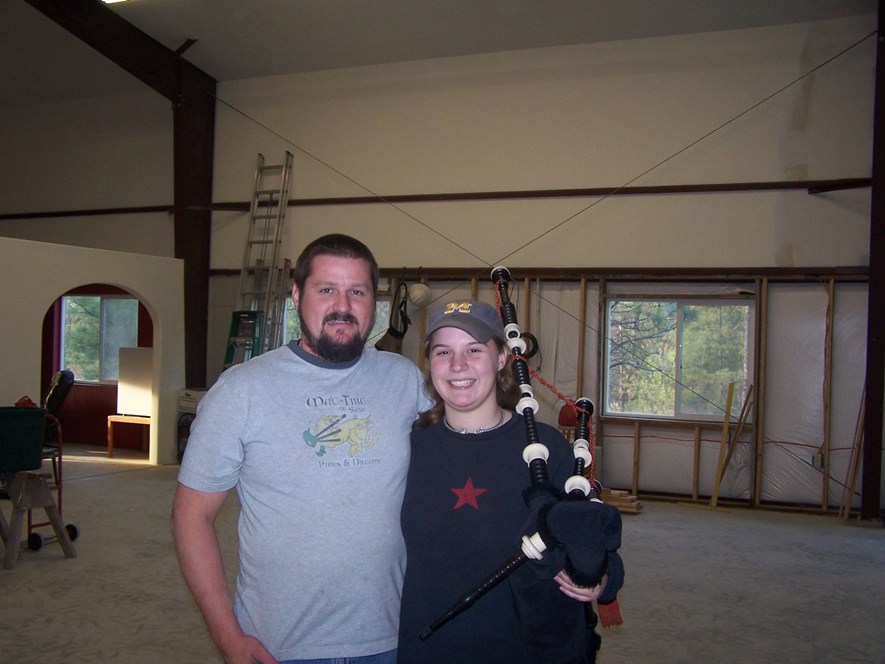
This is my helper crew. Justin and his friend Aden. Aden is a bagpiper and Pipe Major of a pipe band in Albuquerque. Justin is my youngest son and an expert construction guy.
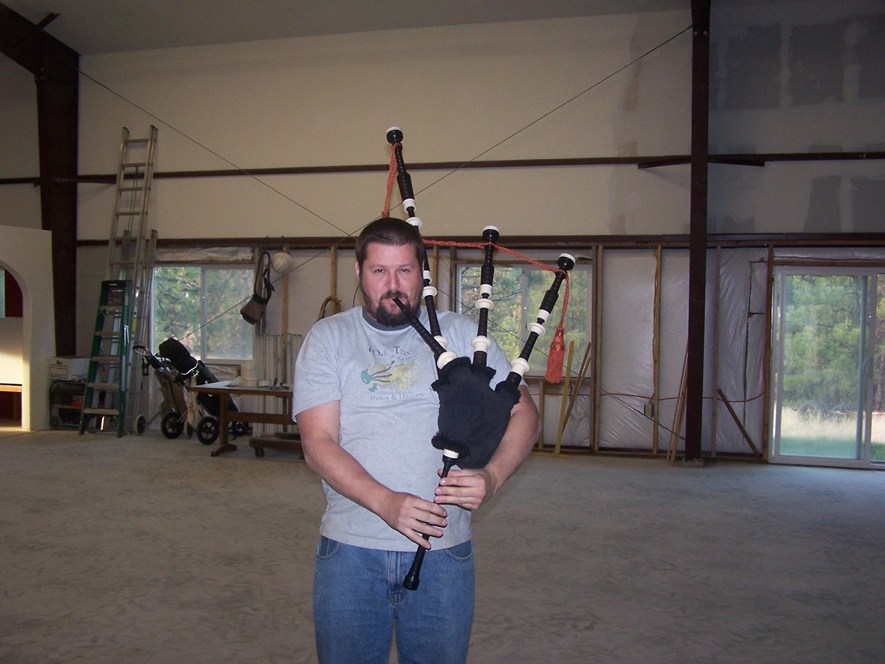
Justin has been learning to play the bagpipes. Here he shows his growing skill.
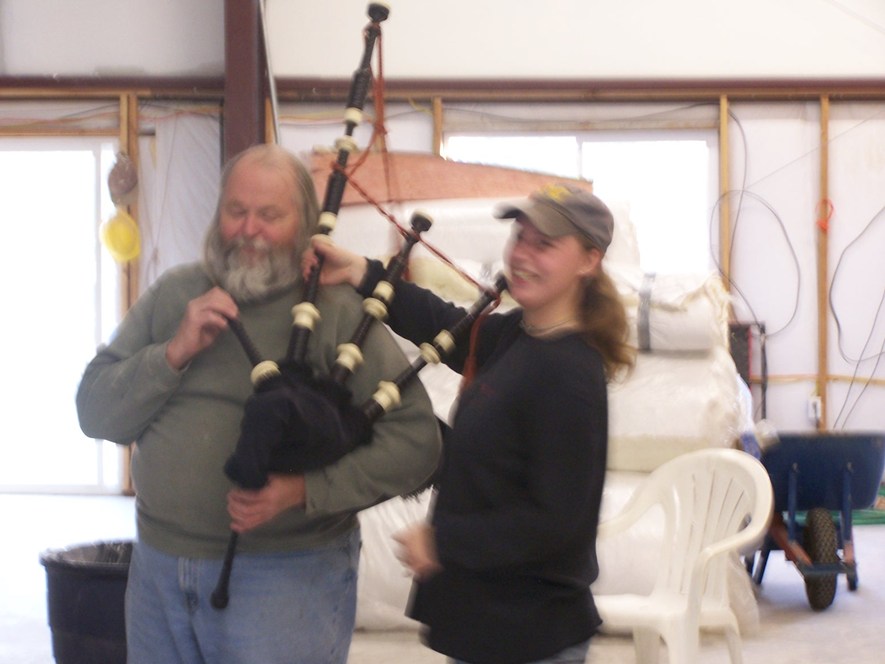
Aden even showed Brad how to blow on the pipes and get the chanters to sound.

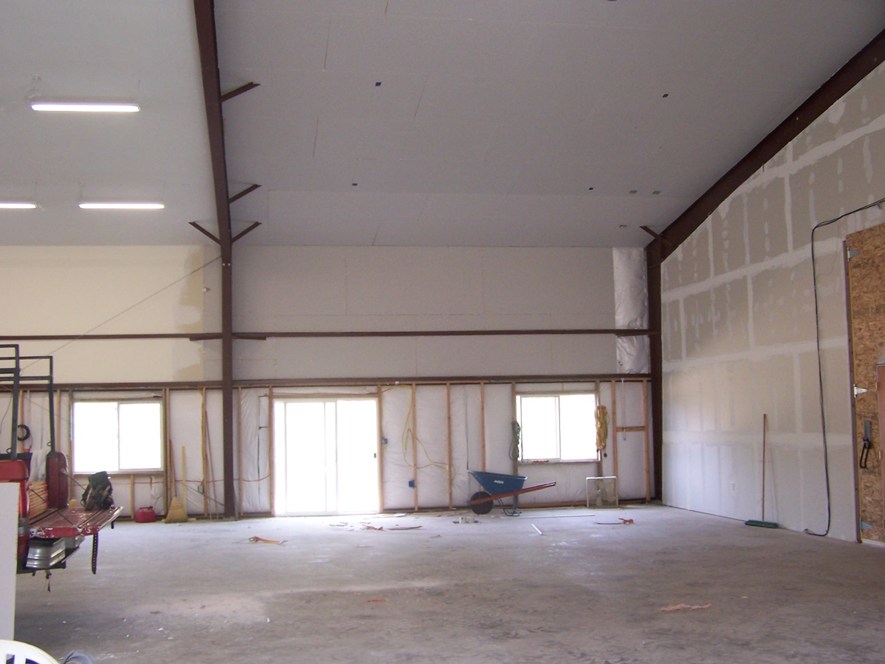
The ceiling is now finished and the extra help has gone back to Albuquerque a few weeks ago. I did the texture and paint, and then hung up more of our standard "shop" florescent lights. We also installed 3 hanging lights which will eventually be over the kitchen island when we get the large kitchen installed in this area. When that time comes I'll add another 10 feet (more or less) of chain to each light.
In this photo you can see the dwindling pile of original building insulation. We still have 4 sections of lower wall to insulate. Most of the remaining insulation will be used in the lower walls seen behind the pile.
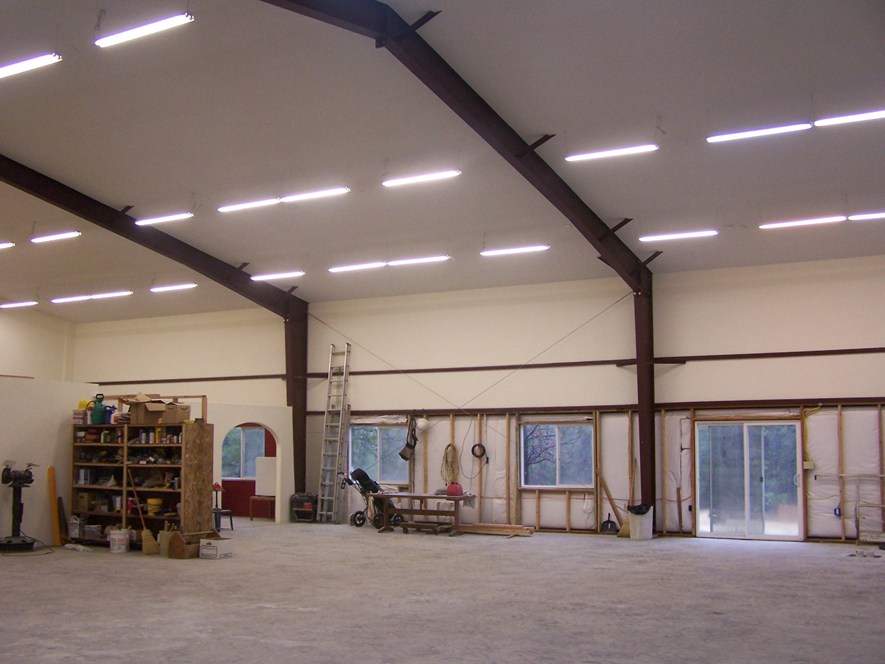
This is the north side of our home showing bays 2, 3, and 4. Winter seems to be arriving this week and its good to have the whole ceiling/roof well insulated.
Now that the ceiling is done I can go back to bay 4 and finish the tile around our Jacuzzi bathtub and make the doors and drawers for our vanity cabinets. When that's done, bay 3 only needs a couple of walls and some flooring to move the library and study areas into it. Maybe even a wood stove will be in the future.
