These photos are to share the beauty of our land south of Cheney, Washington. We are in process of creating a home on the land. Please feel free to ask questions or share your thoughts.
Its been a while since our last photo page. Here is some catch up.
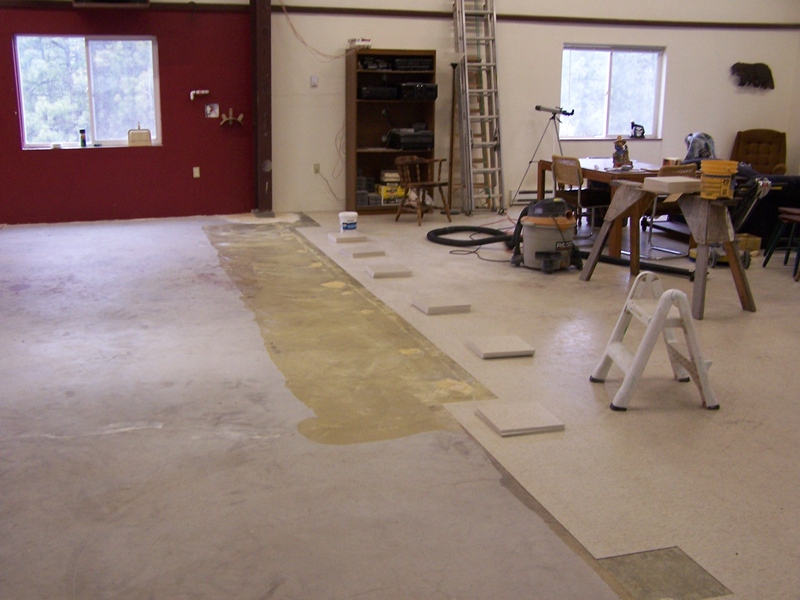
After doing the ceiling and south wall of bay 2, we got started on the floor. You may recall from prior photos that there once was a divider wall where the vinyl floor tile ended. When this photo was taken I've cleaned up and patched the concrete, and removed partial tiles back to a clean tile edge. I've spread down a section of glue and I'm waiting for the glue to partly dry to put down the waiting tiles.
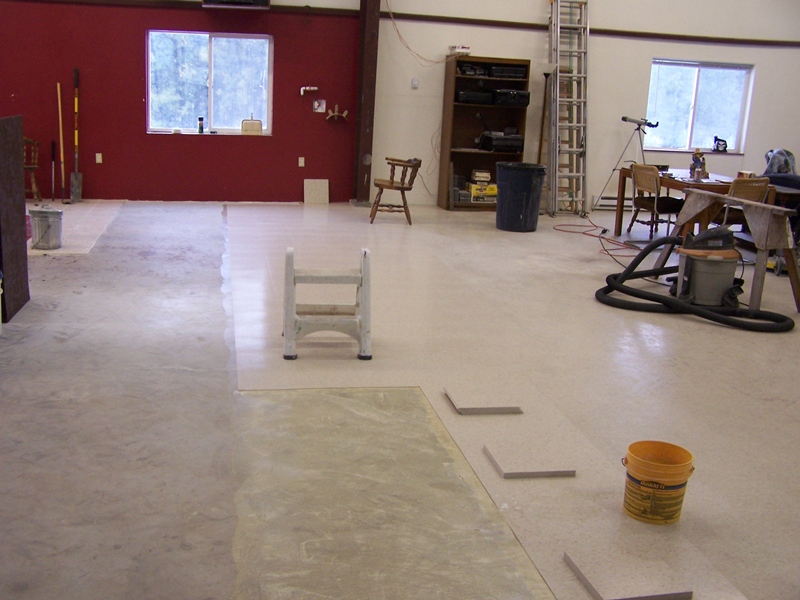
Moving along with floor tile. We glue and tile one section at a time.
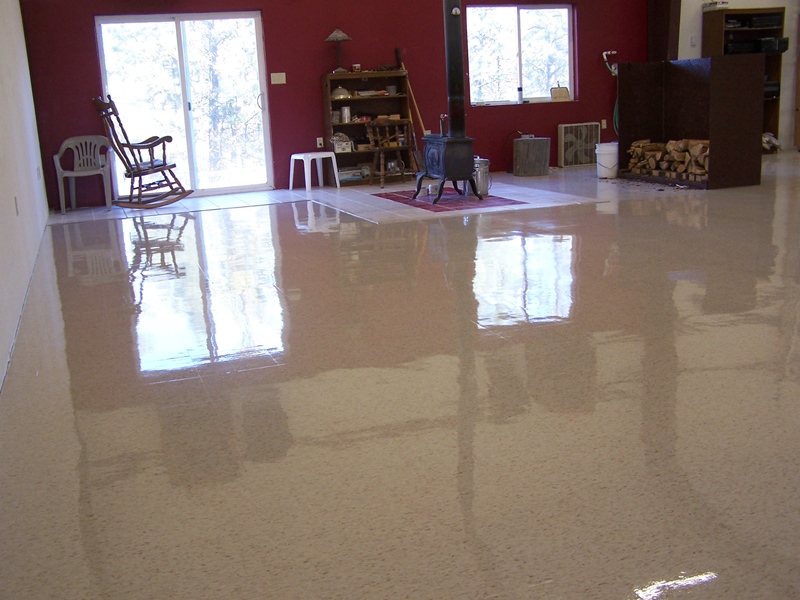
The living room floor is now done. We have ceramic tile under and around the wood stove. Compare the small wood stove with the large barrel stove farther down this page.
This is another photo of the bay 2 floor. You may notice that we hung our music speakers on the wall. I found a technician in Spokane who could put new cones on the 15 inch woofers.
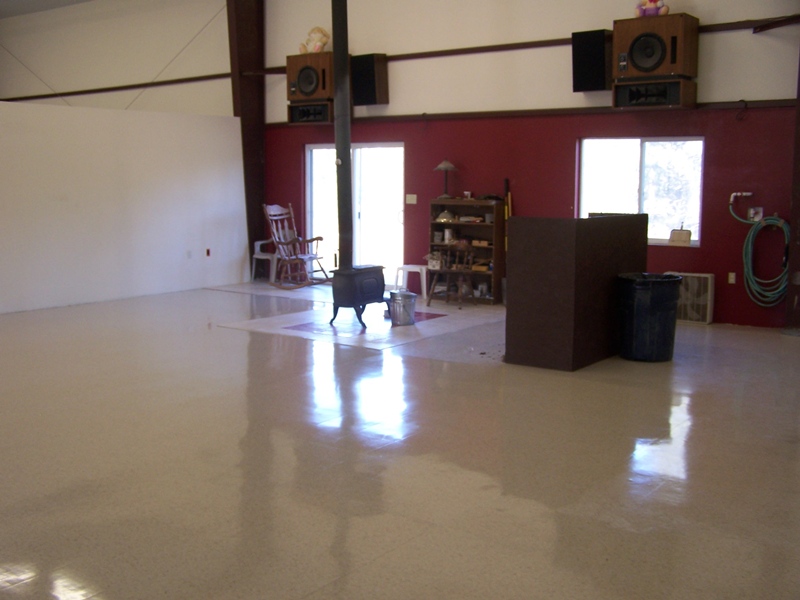
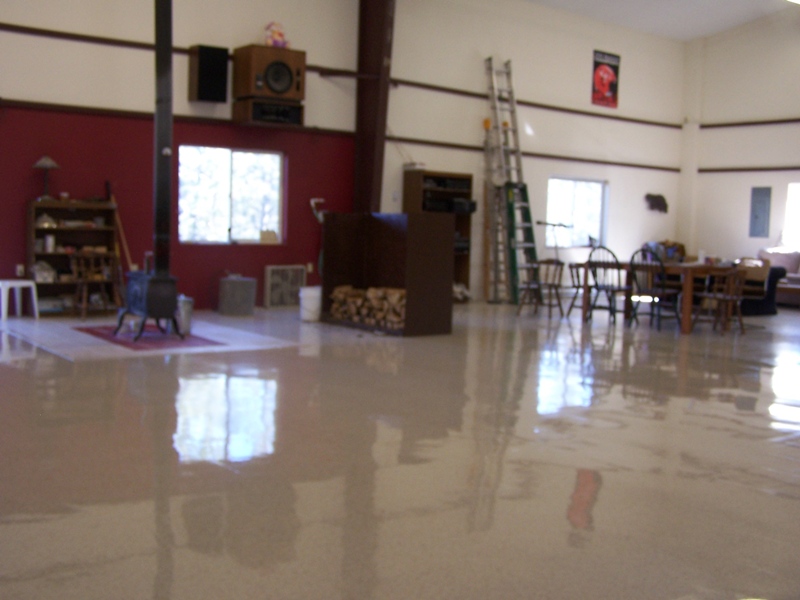
One more photo of the floor in bay 2, north end opposite of the kitchen.
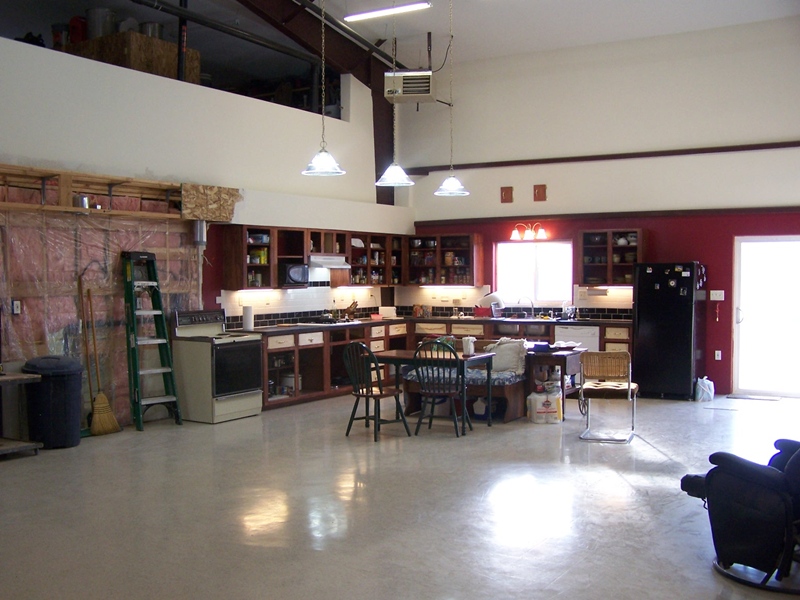
This is the south end of our bay 2 floor, the new kitchen area. There is about 1,500 square feet of floor in each bay.
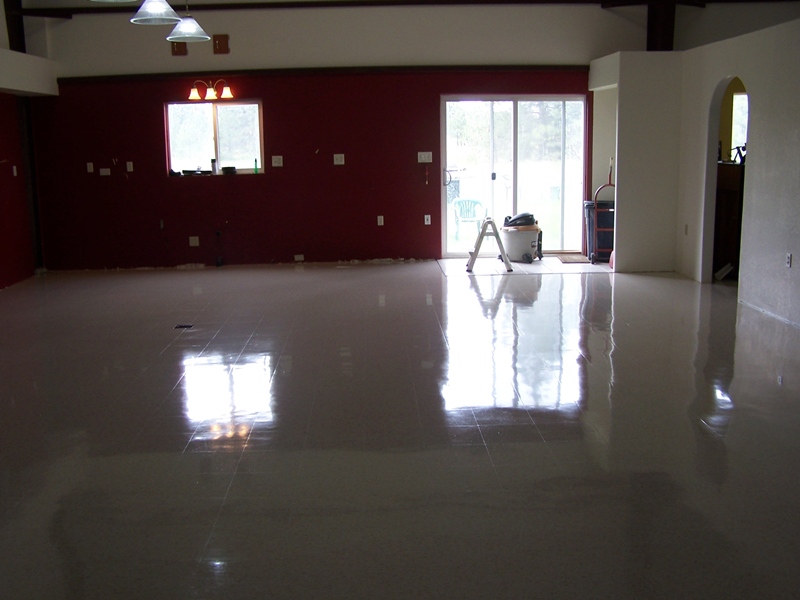
Another view of the kitchen area floor. Note that there is an unfinished wall on the left of the photo. That wall is behind our temporary kitchen and has to have plumbing and wiring changes when we move to the new kitchen. Note also that our kitchen area has a floor drain to make it easier to wash, or to hose down.
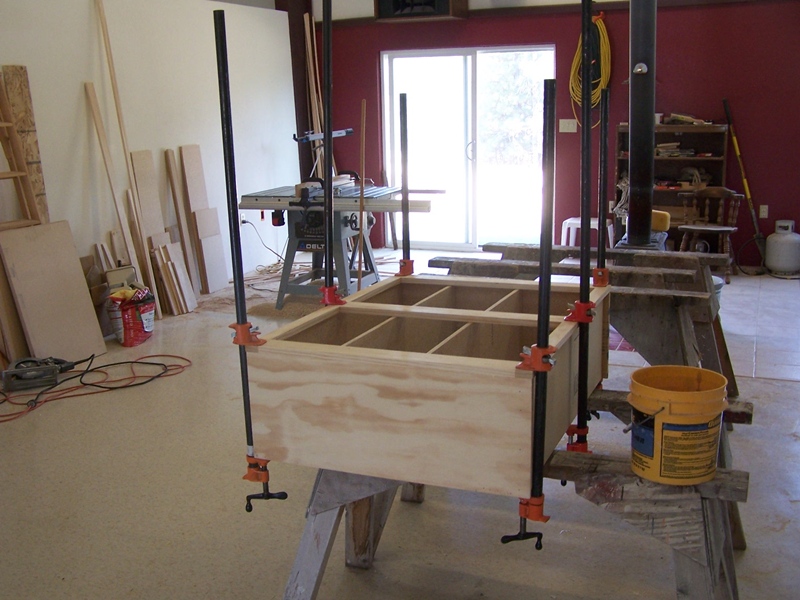
Once the floor was finished I put my carpenter hat on and began constructing cabinets for the new kitchen. Here is one cabinet that has been glued and clamped until the glue dries.
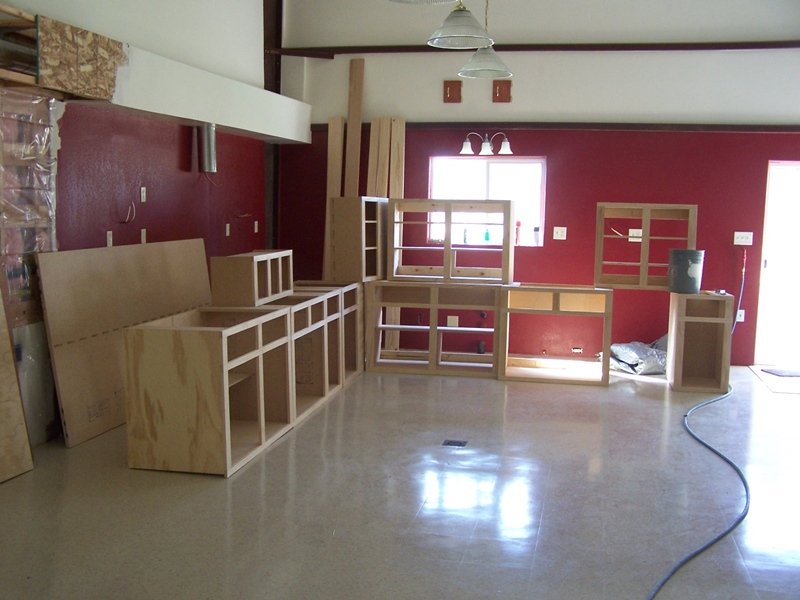
As each cabinet was finished I lined them up in the kitchen space to see where they would fit.
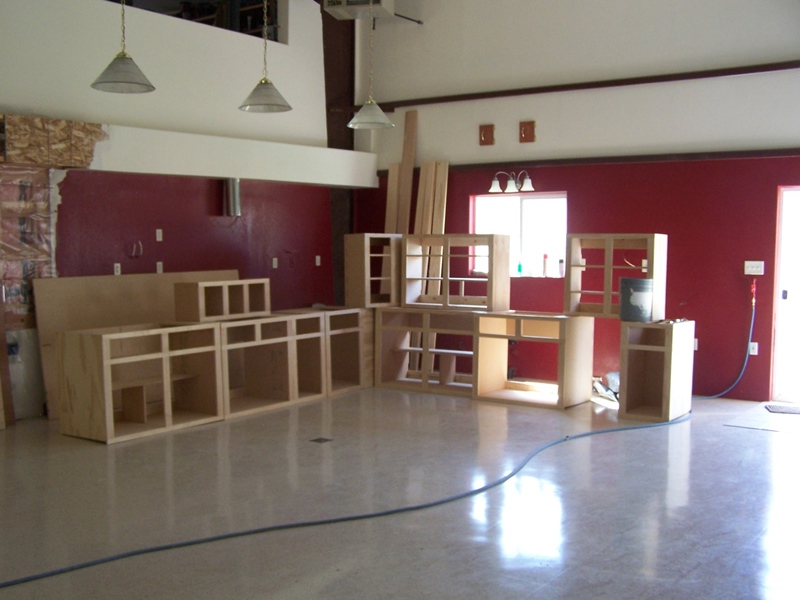
Another view of the cabinets ready for stain and lacquer. I took them outside for stain and spray lacquer so that overspray would not make a mess in the building. All went well until winter came. You need 50 degrees for spray finish, and it got cold. I had the cabinets all stained and finished, but no doors were done. So I quit my staining and finish project to focus on cutting firewood for the coming winter. Got a late start of firewood this year. You may note the compressed air service in the kitchen.
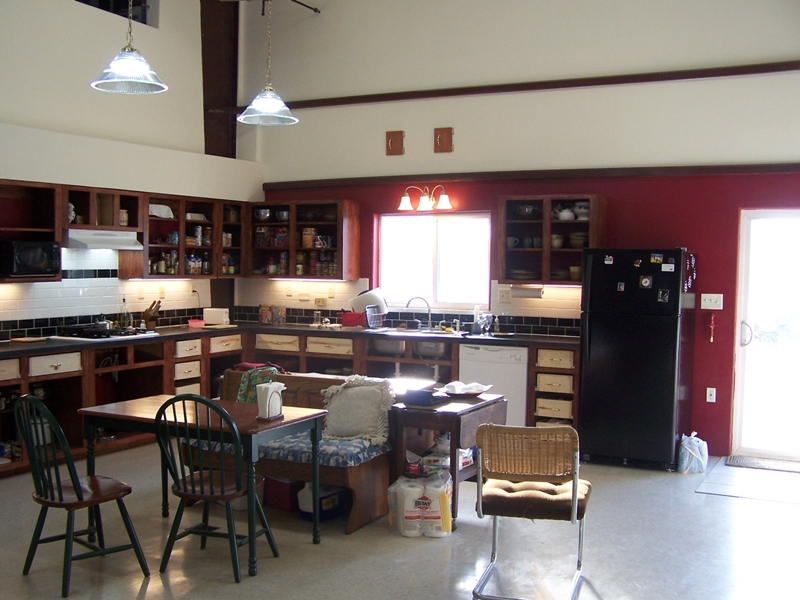
Well we moved into the new kitchen. There are no doors or drawer fronts in our kitchen, but the plumbing and wiring all works. We installed a dishwasher and gas cook top. The kitchen sink was moved. The new refrigerator has an ice maker. Counter tops are Formica in a black basalt pattern.
Here's another view of the new kitchen.
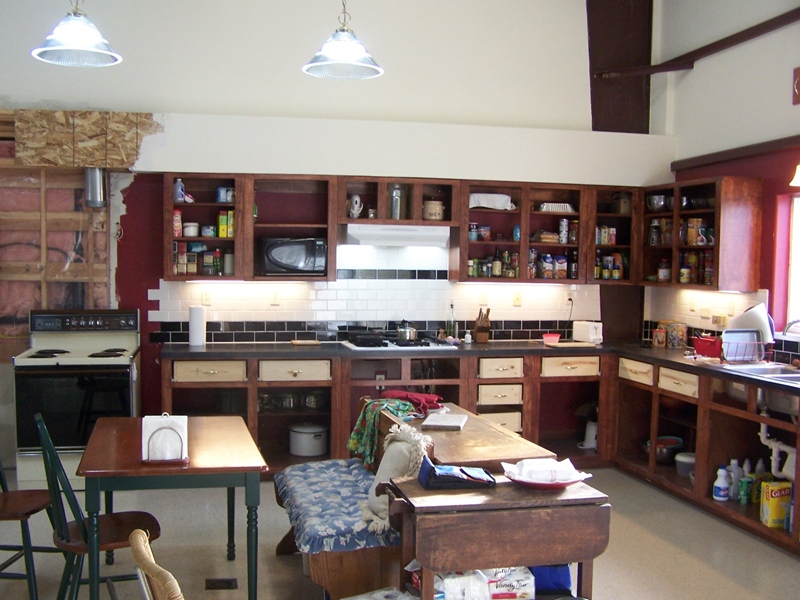
This photo shows the east wall of our new kitchen. When complete the kitchen will have 2 sinks and 2 stoves, or a traditional electric stove and a gas cook top. Note the microwave neatly tucked into the upper cabinet just to the left of our gas cooktop. For the frugal among our readers, we found the dishwasher and gas cooktop at yard sales, about $25 each. The hanging lights have about have about 12 feet of chain above the photo. Another yard sale items. Seems like we gave someone about $10 for the 3 matching lights. We had to buy more chain, and at a building supply we ended up paying more for wire and chain than for the lights.
We are going to make an official kitchen island under the lights next summer.
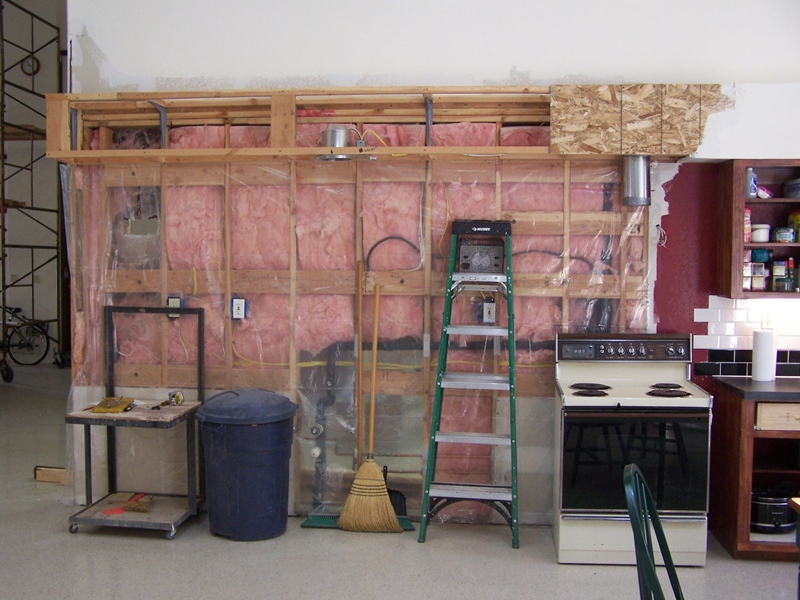
This is the wall that isn't finished. Notice it now has a sink rough in which has been rotated from the other side of the wall. It has GFCI electric plugs on the two kitchen circuits also rotated from the other side of the wall. The range hood duct has been shortened and repositioned. There is a nice recessed light for the kitchen sink location. It needs sheetrock and finish before adding more cabinets.
It seems likely that the lower sink cabinet, and left upper cabinet from the temporary kitchen will just fit into this space. We removed them without damage from the other side. (See previous page on link below.) We will still need to construct a couple more cabinets, plus the island.
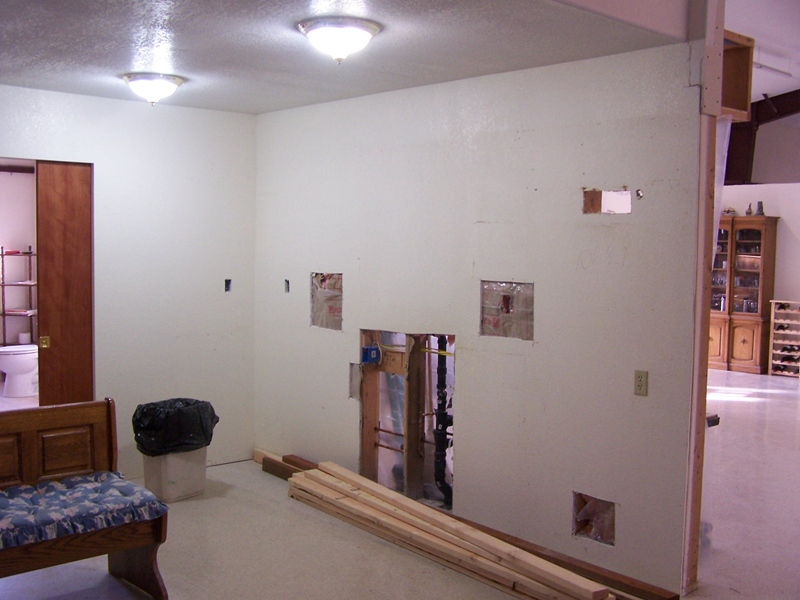
This is the old kitchen space. Compare it to the previous temporary kitchen photo here We will patch the wallboard and paint it. Some future year we may put a stairs here, but not today.
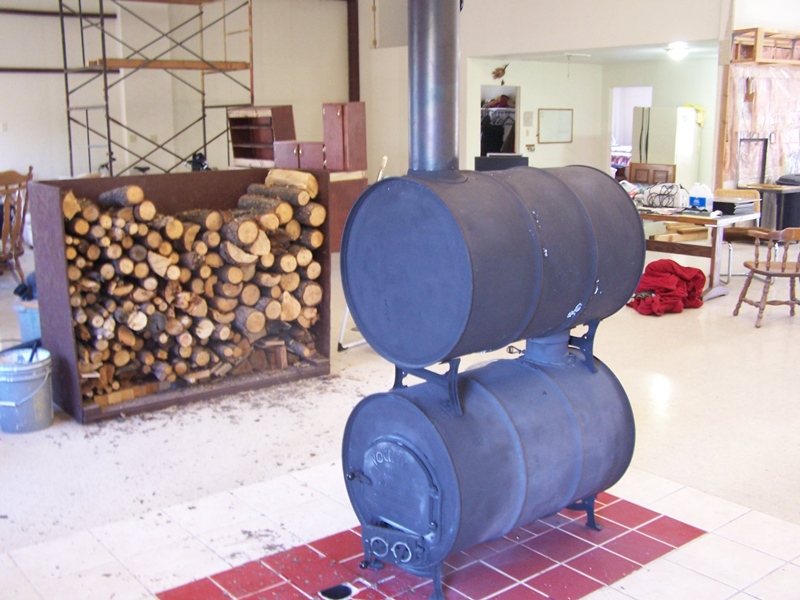
We put in a classic wood stove made from recycled oil barrels. The doors and feet are a Vogelzang stove kit. Barrels are $10 at a local recycler. Compare to the small stove above. This stove puts out so much heat that even with temperatures below freezing in the day and dropping into the teens at night we only fire the stove about 3 hours in the morning and 3 hours at night. Our thick insulation keeps us warm all day or all night without the stove burning.
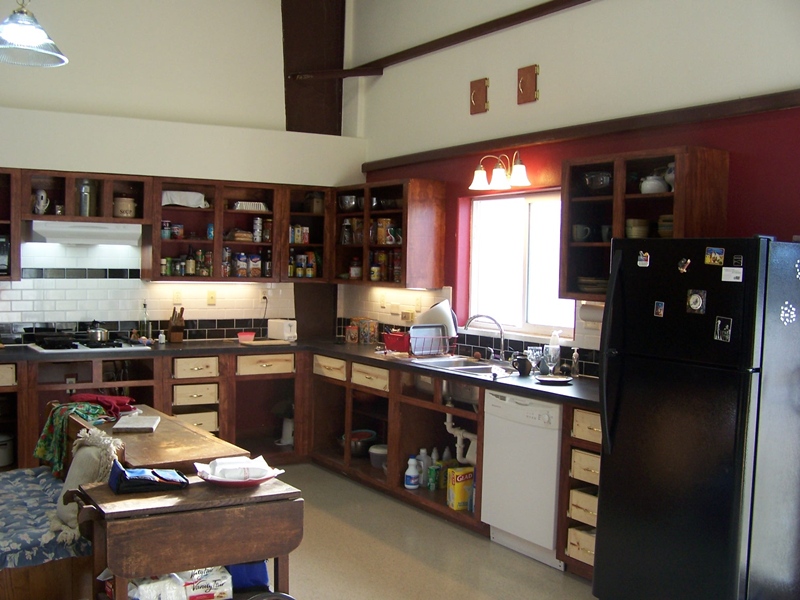
One more time. Here is our new large kitchen, not quite done but still nice.
Well, that's all the photos for now. When we get something else done I may get around to posting again.
